Mountain Labs is a headless CMS with a GraphQL API, built for developers who want full control over their content without being locked into a proprietary data model or delivery layer.
By the end of this guide you'll have a page with content sections, queryable via the GraphQL API from any client.
If you don't have an account yet, start your 14-day free trial. No credit card required. Mountain Labs works with standard GraphQL clients like Apollo and Relay, and any OAuth 2.0-compatible auth library, so whatever your stack, you're covered.
From the dashboard, click Pages in the left sidebar, then Add Page. You'll be asked to give the page a slug — this is the URL-safe identifier you'll use to reference it in the API. Use something like hello-world. The page's directory is automatically derived from the slug.
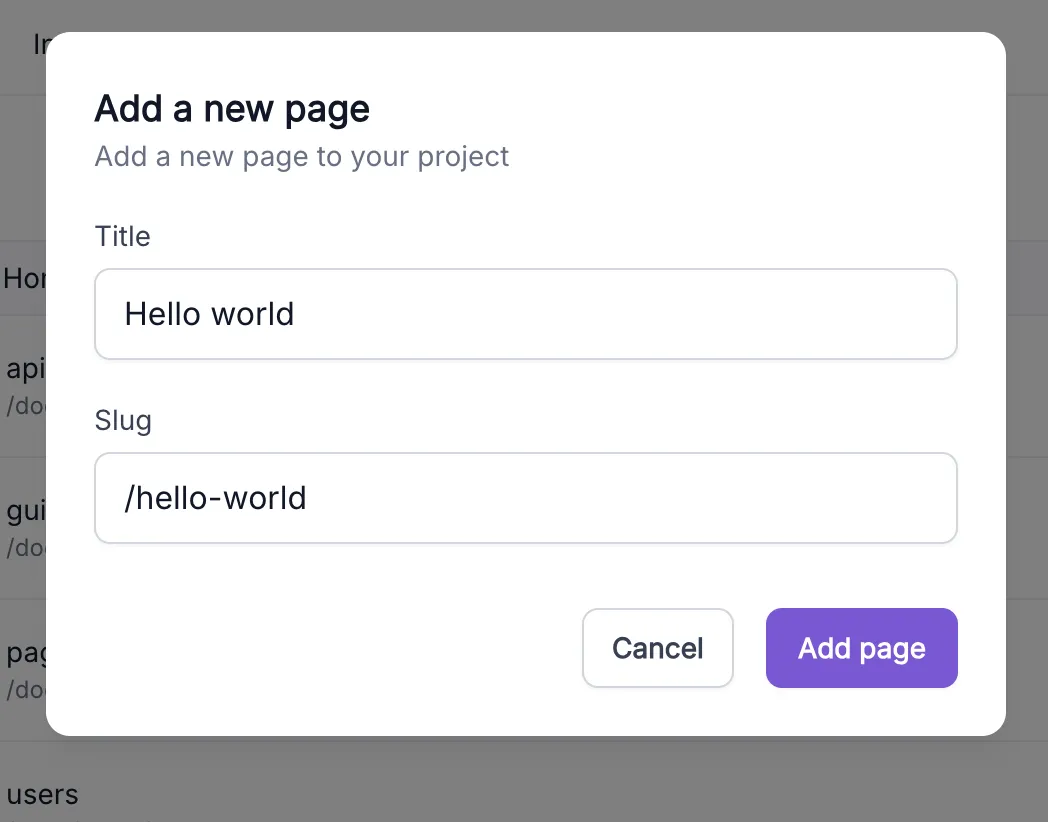
A page at hello-world lives in the root directory, while a slug like docs/getting-started would place it under the docs/ directory alongside any other pages sharing that path. Once the page is created you'll land in the editor, ready to add content.
In the editor, you'll see a default text section ready to go. Each section has two key parts:
-
Slug: a short identifier in the top-left field (e.g. intro). This is how you'll reference the section directly in the API.
-
Content: the body of the section, edited visually but stored as Markdown under the hood.
Go ahead and type something in the editor. Sections can be reordered, nested into groups, or queried individually. Your content stays structured regardless of how you present it. A flat list of sections gives you a simple linear document; nesting sections inside a GroupSection lets you model a hierarchy and traverse it as a tree.

Your GraphQL API endpoint is unique to your project. You can find it in Settings → Project details under GraphQL API Domain — it follows the pattern https://graph.[username].mountain-labs.io.
All requests are standard GraphQL POSTs:
POST https://graph.[username].mountain-labs.ioContent-Type: application/jsonAuthorization: Bearer <access_token>For the full auth setup — registering an OAuth client and obtaining an access token — see the API docs.
With your page created and a section added, run this query to fetch it:
query { page(ref: { slug: "hello-world" }) { id slug sections { slug ... on TextSection { markdown } } }}The sections array returns all sections flattened. To traverse nested content, query GroupSection children instead:
query { page(ref: { slug: "hello-world" }) { sections { slug ... on GroupSection { children { slug ... on TextSection { markdown } } } ... on TextSection { markdown } } }}Now that you've created your first page and queried it, here's where to go next:
-
Page Editor: learn how to reorder sections, create groups, and use the full editor toolbar
-
Pages API: full reference for page queries, mutations, and permissions
-
Sections API: full reference for adding, editing, and nesting sections